Welcome to the wonderful world of DIY fashion! Whether you’re a seasoned crafter or just dipping your toes into the creative pool, there’s something undeniably magical about turning everyday items into unique, stylish pieces. This guide will take you through some of the best DIY fashion ideas that are not only easy to make but will also make you the envy of your friends. Grab your scissors, needles, and glue guns—it’s time to get crafty!
Table of Contents
1. Transforming Old Jeans into Trendy Shorts

What You Need:
- A pair of old jeans
- Fabric scissors
- Sandpaper or a cheese grater
- Fabric paint or patches (optional)
- Needle and thread (or a sewing machine)
Steps:
- Measure and Cut: Put on your jeans and mark where you want to cut. Remember, you can always cut more later, so start longer than you think you’ll want.
- Fray the Edges: Use sandpaper or a cheese grater to fray the edges of your new shorts. This gives them a trendy, distressed look.
- Customize: Add patches, fabric paint, or even embroidery to make your shorts truly unique. This is your chance to let your personality shine through!
- Sewing the Hem (Optional): If you prefer a cleaner look, you can hem the edges. Simply fold the edge over twice and sew it down.
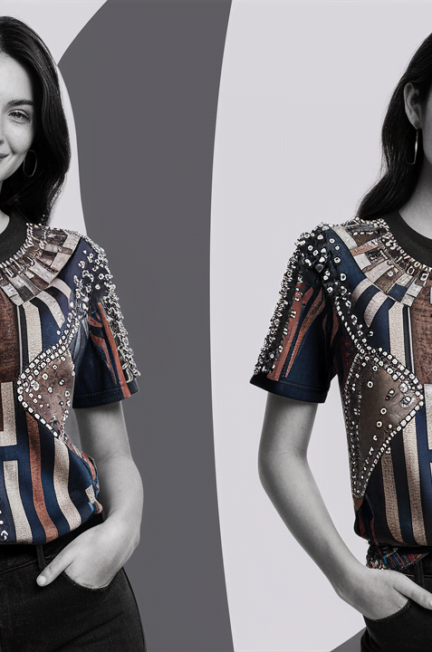
2. Upcycle a Plain T-Shirt into a Statement Piece

What You Need:
- A plain t-shirt
- Fabric scissors
- Fabric markers or paint
- Studs or beads (optional)
- Needle and thread
Steps:
- Cut and Shape: Decide on the look you’re going for—whether it’s a fringe bottom, a crop top, or an off-shoulder design. Carefully cut your t-shirt accordingly.
- Design: Use fabric markers or paint to add designs. This could be a favorite quote, a geometric pattern, or even abstract art.
- Embellish: Sew on studs or beads to add a bit of sparkle and texture to your creation.
3. Turn a Scarf into a Chic Kimono

What You Need:
- A large scarf or piece of fabric
- Fabric scissors
- Pins
- Needle and thread (or a sewing machine)
Steps:
- Fold the Scarf: Fold your scarf in half width-wise.
- Cut the Neckline: Cut a small semicircle at the folded edge for your neck hole.
- Create the Sleeves: Sew along the edges, leaving openings for your arms. You can pin the fabric first to ensure you get the sleeves right.
- Finishing Touches: Hem the edges if needed and iron your new kimono for a polished look.
4. Make Your Own Beaded Bracelets

What You Need:
- Beads of various sizes and colors
- Elastic string or jewelry wire
- Clasp (if using jewelry wire)
- Scissors
Steps:
- Plan Your Design: Lay out your beads in the order you want to string them. This helps to visualize the final product.
- String the Beads: Carefully string your beads onto the elastic string or jewelry wire.
- Tie or Attach the Clasp: If you’re using elastic, simply tie a secure knot. If you’re using jewelry wire, attach the clasp.
- Trim the Excess: Cut off any excess string or wire, and you’re done!
5. Craft a Personalized Tote Bag

What You Need:
- A plain canvas tote bag
- Fabric paint and brushes
- Stencils (optional)
- Iron-on patches (optional)
Steps:
- Design Your Tote: Plan your design. You can sketch it out on paper first or go straight to the bag if you’re feeling confident.
- Paint: Use fabric paint to create your design. Stencils can help if you’re not comfortable free-handing it.
- Add Patches: Iron-on patches can add an extra layer of customization and fun.
- Dry and Set: Let the paint dry completely, then follow the paint manufacturer’s instructions to set the paint (usually involves ironing).
6. Embellish Your Shoes

What You Need:
- A pair of plain sneakers or flats
- Fabric glue
- Rhinestones, beads, or fabric paint
Steps:
- Plan Your Design: Decide where you want to place your embellishments.
- Apply Glue: Carefully apply fabric glue to the areas where you’ll be placing your embellishments.
- Add Embellishments: Place your rhinestones, beads, or paint designs on the glue. Let it dry thoroughly.
Tips for DIY Fashion Success
- Start Simple: If you’re new to DIY fashion, start with simpler projects and gradually work your way up to more complex designs.
- Gather Inspiration: Use Pinterest, Instagram, and fashion blogs to gather ideas and stay updated on the latest trends.
- Take Your Time: Rushing can lead to mistakes. Take your time to ensure that your DIY project turns out just the way you want it.
- Don’t Be Afraid to Experiment: Fashion is all about self-expression. Don’t be afraid to try something new or unconventional.
DIY fashion is a fantastic way to express your creativity, save money, and create one-of-a-kind pieces that reflect your personal style. Whether you’re upcycling old clothes, creating accessories, or designing new outfits from scratch, the possibilities are endless. So, what are you waiting for? Dive into your closet, pull out those forgotten items, and start your DIY fashion journey today!
Remember, the key to DIY fashion is to have fun and let your creativity flow. Happy crafting!